I love risotto. When its done right it really can be just heavenly. My previous excursion into risotto was absolutely perfect. The Bacon and Leak Risotto with a Poached egg is really spectacular, I've made it several times and had many happy customers with that recipe. This time I wanted to try it with something I had not tried to cook before, scallops.
 I've always liked scallops, they can be a little bit on the fishy side depending on how they are prepared but I like working with different ingredients so I figured it was worth a shot.
Caramelized Scallops and Risotto with Sherry
For the risotto:
- 8 Tbsp butter
- 1/2 Cup Onion finely chopped
- 2 cups of Carnaroli rice (for the life of me I could not find this stuff so I went with Arborio rice instead. I have no idea what impact this has on the recipe but it seemed to work just fine for me.)
- 2/3 Cup of Sherry Fino (also couldn't find sherry fino specifically, so I just went with plain old cooking sherry)
- 8 Cups of Chicken stock
- 1 Cup of Parmesan, grated
For the Scallops
- 2 lbs Sea Scallops
- 1 Cup Kosher Salt
- 1 Cup Hot Water
- 8 Cups Cold Water
- 1/4 Cup Olive Oil
- 1/4 Cup Sherry
- 4 Tbsp Butter
 To get this party started, bring the chicken stock to a boil in a pot and then lower to simmer.
 As that is happening you can prepare the brine for the scallops. In a bowl, combine the salt and the hot water. The recipe says to stir to dissolve the salt. Science says that is way too much salt to dissolve in that small amount of water. So I say, mix it as best you can and then add the cold water. Once all of the water is in the bowl the salt should dissolve pretty easily. Add the scallops to the bowl and let them sit for 15 minutes.
After 15 minutes, drain the scallops, rinse them in cold water and pat dry. The overwhelming fish/seaport smell that accompanied the scallops should be significantly diminished. At least it was for me. I should note at this point that my kitchen smelled like fish for two days after making this. My kitchen is right next to the front door, therefore I was greeted with the smells of the sea whenever I walked in the door. This may have had something to do with the pan that I had to soak for a bit to get clean and then left overnight. Ok the smell part is probably my bad. The lesson here kids is clean as you go.
 In a big heavy saucepan (it is important to make sure its big enough otherwise you'll end up with risotto everywhere when it starts to expand as it absorbs the stock) melt 4 Tbsp butter on low heat. When the butter is melted add the onions and cook slowly for 10 minutes, making sure that you do not brown the onion. You want it to end up flaccid and translucent. (I'm proud that I managed to work flaccid into a sentence...win for me!)
After 10 minutes turn the heat up to medium and add the rice. Stir the rice constantly until it is covered in butter. You don't want the rice to brown so make sure the heat stays at medium and stir a lot.
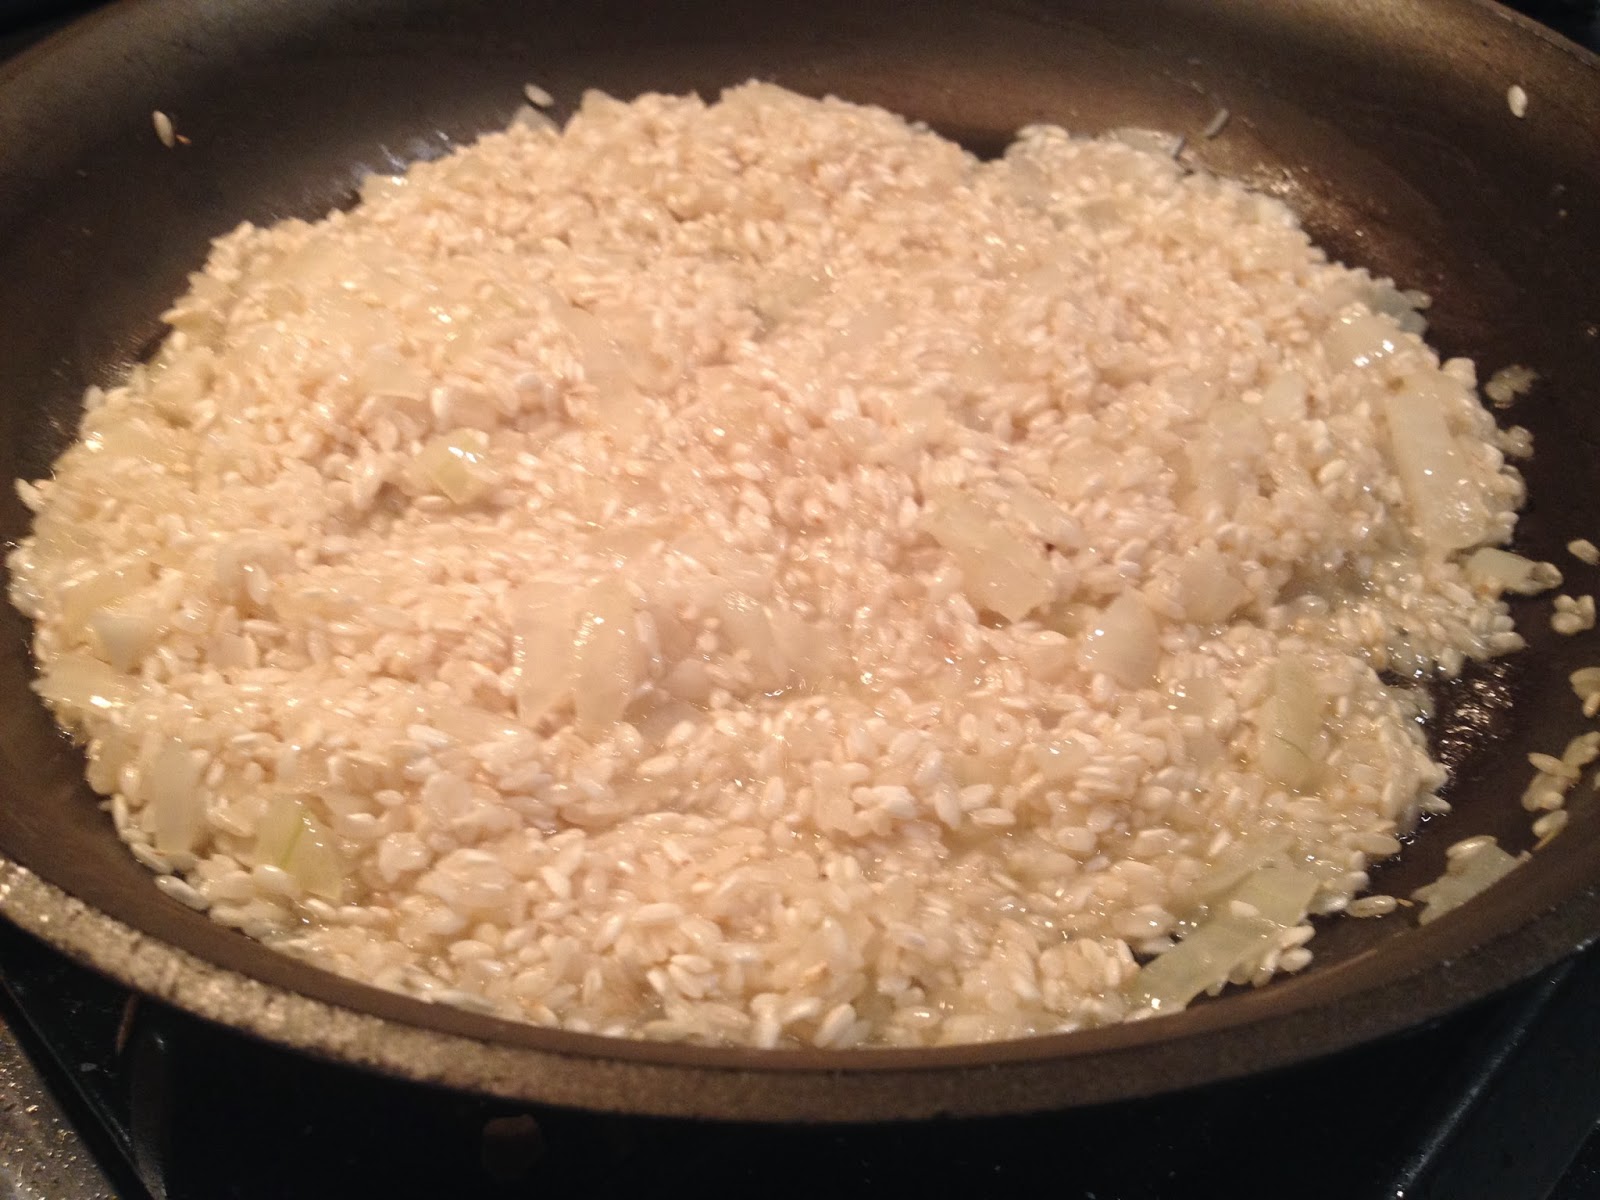
Add the sherry and let it reduce, continuing to stir until the mixture is almost dry. If you've read my previous post about risotto, you know that this is just the beginning of all of the stirring. Make sure you are equipped with a good glass of wine nearby and you should be fine. It is even better if you can find someone to refill that glass as you cook, you know who you are.

Turn the heat down to low and start adding the chicken stock (which should still be on the stove) 1/2 cup at a time stirring frequently until almost all of it is absorbed. Lather, rinse and repeat this step until the rice is tender and the risotto is creamy but not too soupy.
Here is where things get hysterical to me. The recipe I used for this says that the adding of stock phase should take about 18 minutes. On what planet does this take 18 minutes? I stirred and added chicken stock for about an hour and a half. I'm ok with that because I knew better from previous experiences. But seriously? seriously? 18 minutes? The lady that put this recipe up is crazy.
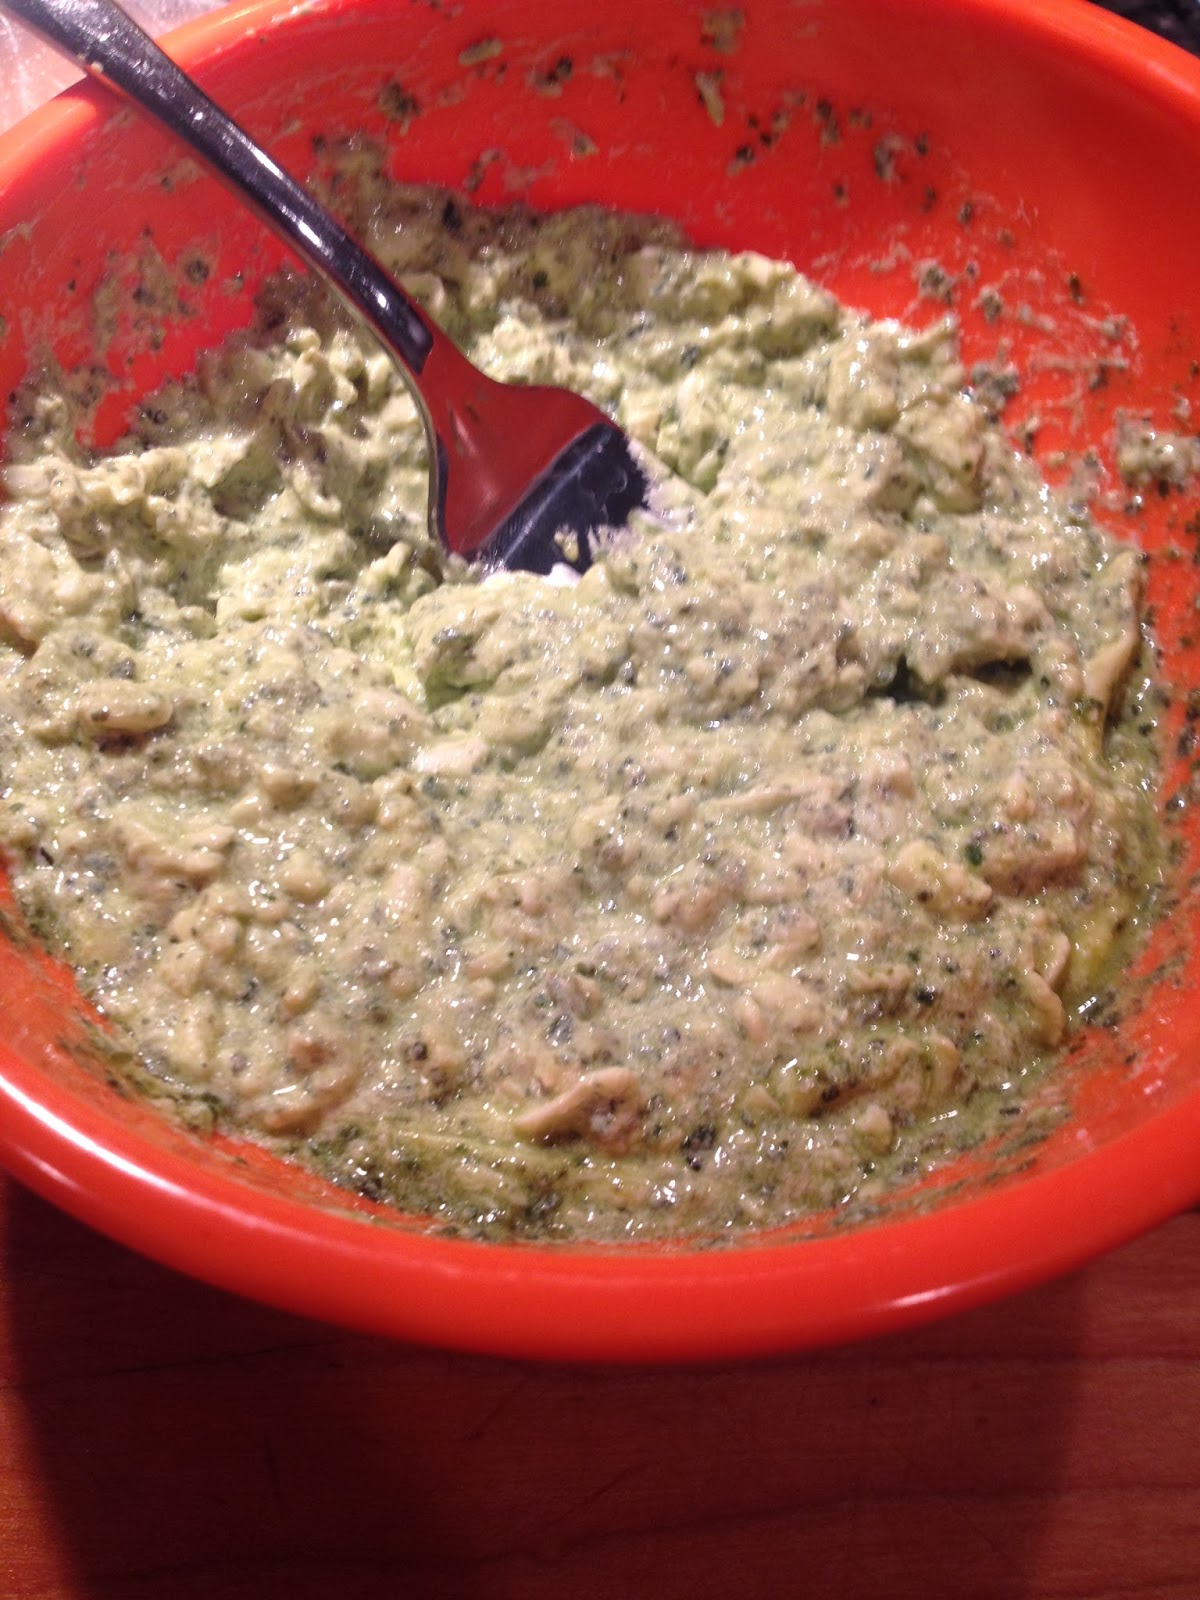
When the risotto is ready, and you're all out of chicken stock remove the risotto from the heat for about 5 minutes. After letting it sit, add the other 4 Tbsp of butter, then the parmesan cheese and stir it in to the risotto until completely mixed.
At this point the recipe also says to "Pay attention to not burn yourself". Was she stirring with her bare hands? I do not understand how at this stage of the recipe I am supposed to be overly concerned about burning myself. I'm about to essentially pan fry scallops in oil, that seems more dangerous than stirring creamy rice. People are weird.
Don't forget to season the risotto with a bit of salt and pepper to taste and then you can set it aside while finishing the scallops.
 For the scallops you can probably use any heavy frying pan. However may I recommend a cast iron skillet? Here's why: At the end of this recipe we will be using the pan scrapings to make a little sauce for the scallops. In my experience, using a non-stick skillet generally leaves no pan scrapings to go after. The cast iron skillet will get mighty hot and you will have all sorts of goodies in the pan at the end.
Heat the oil in the skillet over medium-high heat until the oil begins to smoke. Add the scallops to the pan, taking care to make sure they are well separated. Apparently these creepy sea creatures are antisocial. In reality if they are too close together you will essentially steam the scallops instead of caramelizing them. Cook the scallops without moving them until the bottom is a nice golden brown color. When I first read this my initial thought was "how am I supposed to know if the bottom is golden brown if I can't move it?" I feel like this is a valid question. However I found an answer while cooking the scallops. At first I cheated and I would pick them up and see how the bottom was looking. Then I realized that since they are sitting in a bit of oil you can just keep an eye on sides of scallops. The bottom of the side will start to brown eventually and that tended to be a good indicator that it was ready to be flipped. Which leads me to my next step, flip the scallops and do the same thing to the other side.
 |
| Maybe I went a little past the golden brown stage with these |
 Once all of the scallops are cooked (I don't have an enormous cast iron skillet so it took a few batches) set them aside and pour most of the fat from the pan. Add sherry to the pan, which will boil instantly and scrape the brown bits off the bottom of the pan. When the liquid is reduced by half, turn the heat down and add salt and butter to the pan and stir until it is slightly thickened.
The scallops can then be served on top of the risotto and topped with a bit of the scallop sauce.
Its a good recipe depending on how you feel about scallops. I know a lot of people have issues with the taste and/or texture of scallops. I think this recipe takes away the overwhelming fish taste you can get from scallops (which is a good thing). But for scallops, that texture isn't going to change much so if that doesn't work for you this recipe is probably not a good idea.
I really enjoyed it. I probably added just a touch too much chicken stock to the risotto this time around and so it was a little soupier than I would have liked. Adding the scallop/sherry sauce to the dish certainly didn't help in that respect but it was still delicious.